
 I was watching "Cloudy with a Chance of Meatballs 2" with the kids. And just the idea of food and animals combined was brilliant in my mind! Amazing the foodimals they have come up with, Fla-Mango's, Shrimpansees and so many more! And off course the WaterMelophant! So funny! And I and the kids fell in love with them.
I had a few ideas in my head forming and I started playing with my Phildar and needle... and 2 days later this is the result!
I LOVE IT!!! And so do the kids!!!
I wrote the pattern down while making it. I haven't tested it and hoping by following it, you will have the same result. To make it bigger, you have to adjust the increase rows in the beginning, but once you increase them, you have to increase the mouth circle and the trunk. So write down what you do!
If you have any questions, let me know!
Pattern after the break!
WaterMelophant by Pukado

Free download, click here!!
Supplies
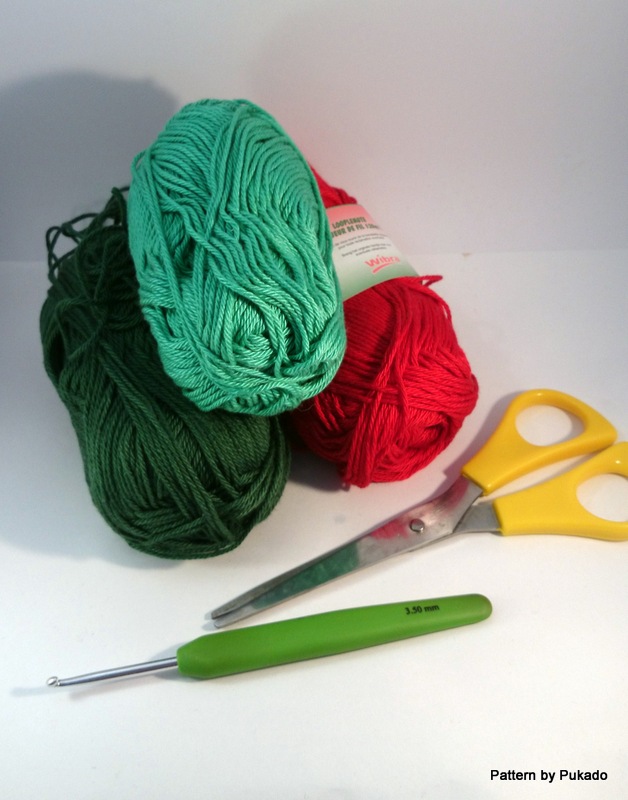
Phildar Coton 3 or similar sport weight coton in colors:
Dark Green
Light (sea) Green
Other shade of green for hairs
Red
Black
Hook needle size 3.5 mm (I crochet loose, so you may want to go up a size to get the same size)
Yarn needle to weave in ends
Stuffing
2 safety eyes 8mm
Work in HDC only. Every row is started with a CH2 and joined with a SLST to first HDC, unless specified otherwise.
DG= Darkgreen
LG= Lightgreen
DGHDC = Dark Green HDC
LGHDC = Light Green HDC
DGSC = Dark Green Single Crochet
LGSC = Light Green Single Crochet
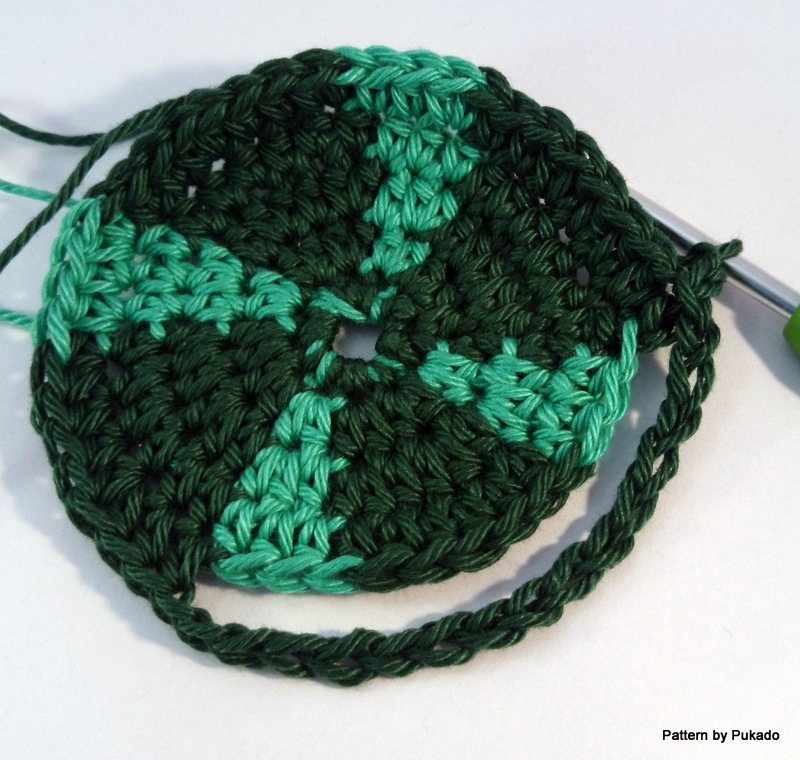
R1, *2DGHDC, 1LGHDC* repeat 4 times total - 12st
R2, *2DGHDC, 2DGHDC, 2LGHDC* repeat around - 24st
R3, *2DGHDC, DGHDC, 2DGHDC, DGHDC, 2LGHDC, LGHDC* repeat around - 36st
R4, *DGHDC in 6, LGHDC in 3* repeat around - 36st
R5, *2DGHDC, DGHDC in 2, 2DGHDC, DGHDC in 2, 2LGHDC, LGHDC in 2* repeat 2 times total, 2DGHDC, DGHDC in 2, 2DGHDC, DGHDC in 2, CH16, SLST to first DGHDC - 48st
R6, *2DGHDC, DGHDC in 3, 2DGHDC, DGHDC in 3, 2LGHDC, LGHDC in 3* repeat around (also along chain) - 60st


R10, CH2DG, DGHDC in same st, DGHDC in next 8st, LGHDC in next 5st (you will start on the last DGst), *DGHDC in 10, LGHDC in 5* repeat around -60st
R11, CH2DG, DGHDC in next 9st, LGHDC in next 5st, *DGHDC in 10, LGHDC in 5* repeat around - 60st
R12, repeat R10
R13, repeat R11
R14, repeat, R10, Fasten off


R15, SLST to the 8th DG st of the bottom DG part (on the belly), CH2DG, DGHDC in same st, DGHDC in next 2st (you will end on the last DGst), LGHDC in 5st, *DGHDC in 10, LGHDC in 5* repeat around, DGHDC in next 3st, CH2, turn (last 4st will be gap)
R16, DGHDC in next 2st, LGHDC in next 5st, *DGHDC in 10, LGHDC in 5* repeat around, DGHDC in last 3st, CH2, turn
R17, repeat R15
R18, repeat R16
R19, repeat R15
R20, repeat R16
R21, repeat R15
R22, repeat R16
R23, CH2DG, DGHDC in same st, DGHDC in next 2st (you will end on the last DGst), LGHDC in 5st, *DGHDC in 10, LGHDC in 5* repeat around, DGHDC in next 3st, CH4, SLST to first DGHDC - 60st
R24, CH2DG, DGHDC in next 2st, LGHDC in next 5st, *DGHDC in 10, LGHDC in 5* repeat around, DGHDC in last 7st, -60st Fasten off
Before you start closing the body, make sure you have attached all parts to the body first.
SLST back to the body at the start of a Dark Green stripe, CH2
Stuff as you go, put a skein of yarn inside the handpocket the size of a child’s hand, this way you make sure you don’t overstuff the body. Don’t stuff too much, just enough to get the body firm and in shape. I use stuffing from a cheap pillow I bought in Ikea. Use small amounts at a time and pull the fibres apart before stuffing.
R25, *2DGHDCtog, DGHDC in 3, 2DGHDCtog, DGHDC in 3, 2LGHDCtog, LGHDC in 3* repeat around - 48st
R26, *2DGHDCtog, DGHDC in 2, 2DGHDCtog, DGHDC in 2, 2LGHDCtog, LGHDC in 2* repeat around - 36st
R27, *2DGHDCtog, DGHDC in 1, 2DGHDCtog, DGHDC in 1, 2LGHDCtog, LGHDC in 1* repeat around - 24st
R28, *2DGHDCtog, 2DGHDCtog, 2LGHDCtog* repeat around - 12st
R29, *2DGHDCtog* repeat around - 6st
R30, DGHDC in each st around - 6st
R31, *DGHDC2tog, DGHDC in next* repeat - 4st
R32, DGHDC in each st around - 4st
Fasten off, weave in ends, add a few strands of the other green as hairs
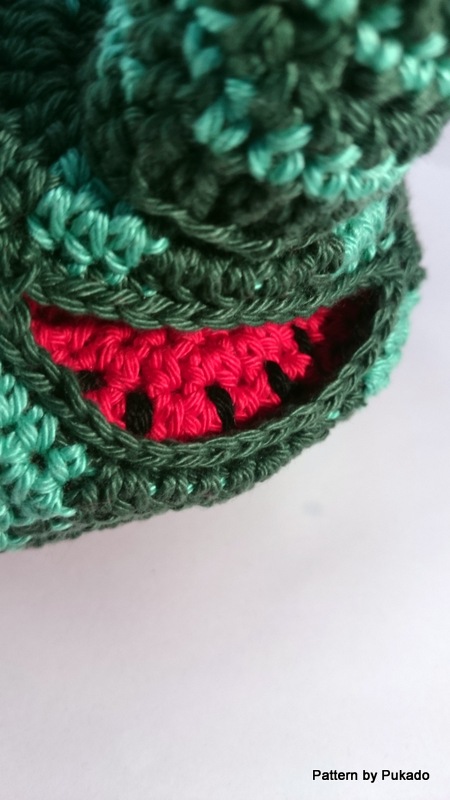
Mouth
With Red
 R1, MC, CH2, 7HDC in MC, SLST to first HDC - 8st
R2, 2HDC in each st around - 16st
R3, *2HDC, HDC* repeat around - 24st
R4, *HDC, HDC in 2* repeat around - 32st
Work in back loop only the first row
R5 - R18, HDC in each st around - 32st
Turn Sock inside out,
Fold Circle in half and SC along fold, fasten off and weave in ends
Turn sock right way around,
With SC from the outside of the mouth, attach the circle to the gap at the front.
The gap has 12st along the top and 16st along the bottom.
Start at the top. SLST with Dark green to the first stitch of the gap and SC through both Gap and circle stitches (from fold count 2st, skip these), SC 11 times along the top, SC 2circle st onto the HDC of R5 of the body, SC 16 times in both Gap and circle stitches, SC 2circle st onto the HDC of R5, join with invisible join.
With black, stitch seeds in the mouth with a simple double stitch.

SC end of sock onto gap in belly. SC from the outside. On the long side, use 12 stitches to attach the side and on the short side use 4 stitches to attach it. In total 32 SC to close it.
Your sock will fold at the bottom part of the mouth inside the belly. That’s ok. I stitched it to the bottom part of the circle. This way the child will have a bit more grip with the thumb.
Trunk:
Start with DG only, CH2 at the beginning of the row and SLST to the first HDC to join
R1, MC, 5DGHDC in MC, SLST to first DGHDC - 6st
R2, 2DGHDC in each st around - 12st
R3, *2DGHDC, DGHDC* repeat around - 18st
R4, work in backloop only, SCLG in each st around - 18st , do not SLST to join, work in continious round from now on, use stitch markers
R5, DGHDC in each st around - 18 st
R6, SLST with LG to first st of R6, CH1, LGSC in next 17st - 18st
R7, DGHDC in each st around - 18st
R8, LGSC2tog, LGSC in next 7st, LGSC2tog, LGSC in next 7st - 16st
R9 DGHDC in each st around - 16st
R10, *LGSC2tog, LGSC in next 2st* repeat around - 12st
R11, DGHDC in each st around - 12st
R12, 3 x LGSC2tog, LGSC in next 6st - 9st
R13, DGHDC in each st around - 9st
Next part is a bit tricky, start stuffing the trunk, but not tight, just a bit to give it body. If you’re stitches doesn’t work out from here on now, that’s ok, as long as you’re working towards a point.
R14, 3 x LGSC2tog, LGSC in next 3st - 6st
R15, DGHDC in each st around - 6st
R16, LGSC2tog repeat around - 3st
Fasten off
Attach trunk to front side of face, Slightly below centre of face.
Ears - make 2, with Dark Green
R1, MC, CH2, 4HDC in MC, CH2, turn - 4st
R2, 2HDC in each st, CH2, turn - 8st
R3, HDC in each st - 8st
R4, *2HDC, HDC* repeat, CH2, turn - 12 st
R5, HDC in each st - 12st
R6, *2HDC, HDC in 2* repeat, CH2, turn - 16 st
R5, CH1, *skip 2st, 6DC in next, skip 2st, sc in next* repeat, last will only skip 1st, 2SC around CH2, edge side with SC, 2SC around R1CH2, 3SC in MC, 2SC around last R1HDC, edge other side with SC, join with invisible join to first CH1.
Attach to head on the Light Green part between R8 and R9


Hair
Knot a few strands of a different green on top of the head
Legs and feet
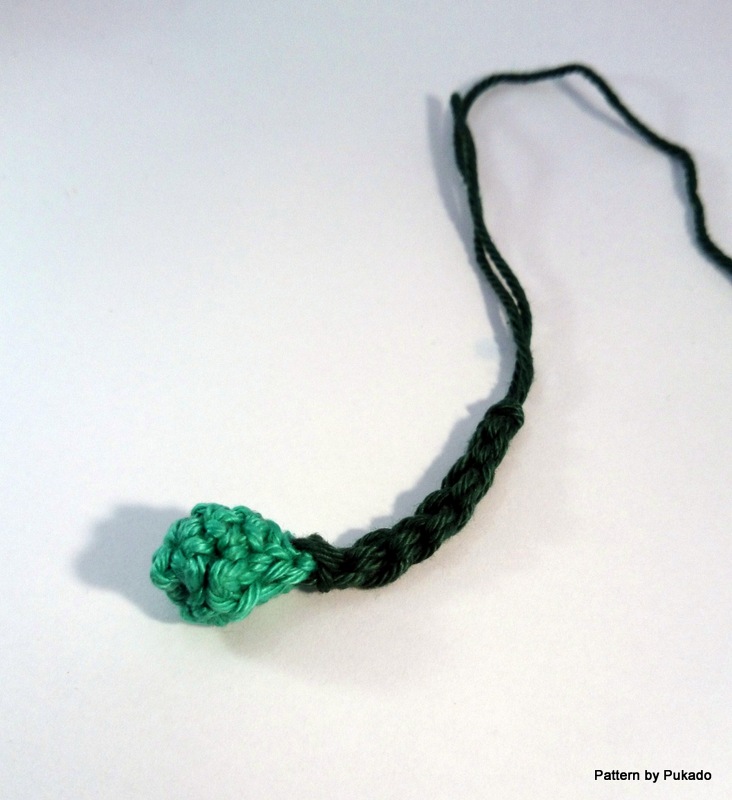 Make 4
With LG make a little ball
R1, MC, CH1, 3SC in MC, SLST to first SC - 4st
R2, 2SC in each st - 8st
R3, SC in each st - 8st
R4, 4 x SC2tog - 4st
With Dark green, make a loop on your hook with a long tail, SLST on top of ball, With 2 strands (tail and your normal strand) CH8, fasten off.
Sew on belly on the 4 corners of the gap.
Copyright Patricia Stuart 2014 ©.
You are free to create from the pattern and sell the creations.
Please do not copy, rewrite, resell or distribute as your own, this is prohibited.
Please give credit to my blog for the pattern and if you sell finished items online,
please provide a link to my blog (www.pukado.blogspot.com) for the pattern.
Thank you for your understanding.
Please visit my blog: Pukado - Blog
FaceBook me! @Pukado
Follow me on Pinterest
No comments:
Post a Comment